Custom iOS App Guide
By default IAMPASS will send authentication requests to the reference IAMPASS mobile application. IAMPASS Applications can be configured to send authentication requests to custom mobile applications. In this case the custom application is responsible for: * Registering the mobile device with IAMPASS * Collecting the required authentication data in response to authentication requests.
Installation
The easiest way to integrate IAMPASS into your application is to use CocoaPods. To integrate IAMPASS into your xCode project using CocoaPods, specify it in your podfile.:
pod 'IAMPASSiOS', '~>0.0.65'
Getting Started
Create an IAMPASS Account and Application
The first stage in integrating IAMPASS into your applicaton is to create an IAMPASS Application as described here.
Save the application id and application secret for your IAMPASS Application you will need them to communicate with IAMPASS.
Add the IAMPASSiOS framework to your project
To integrate IAMPASSiOS into your xCode project using CocoaPods, specify it in your podfile.:
pod 'IAMPASSiOS'
Application Configuration
Enable Push Notifications
IAMPASS uses Push Notifications to notify users of Authentication Requests. Add the Push Notifications entitlement to your application.
Configure IAMPASS Notifications Credentials
In order to send Push Notifications to your application you need to configure your IAMPASS: IAMPASS needs to be able to authenticate with the APNS servers. The easiest way to do this is to use Token Based Authentication. You can obtain the token information using the instructions here.
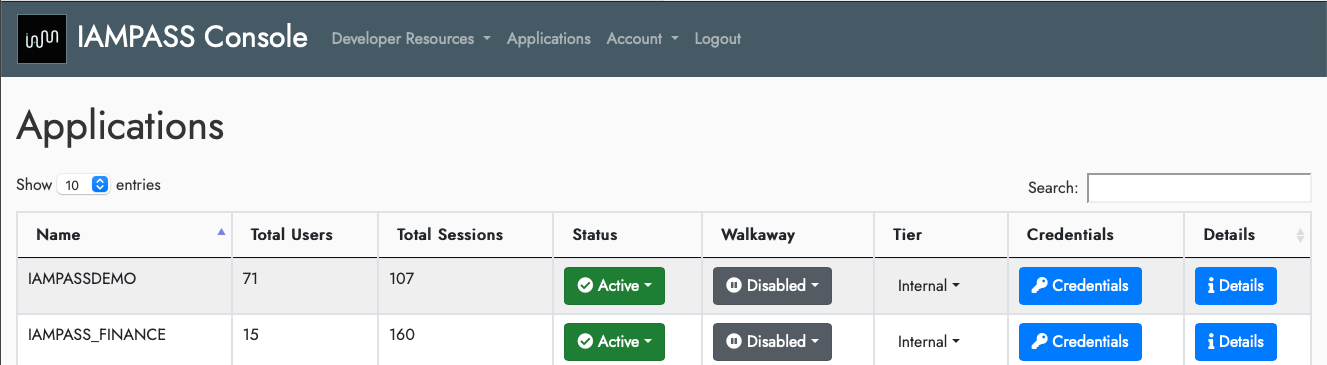
Open the IAMPASS Console
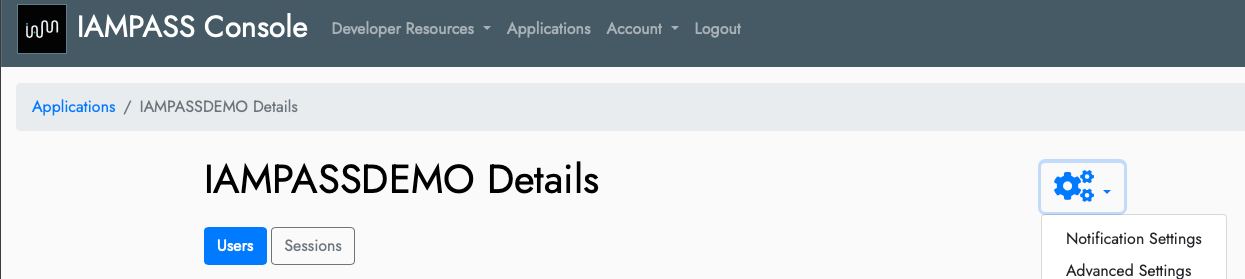
Select you application and click the Details button.
In the details page click the settings icon and select Notification Settings.
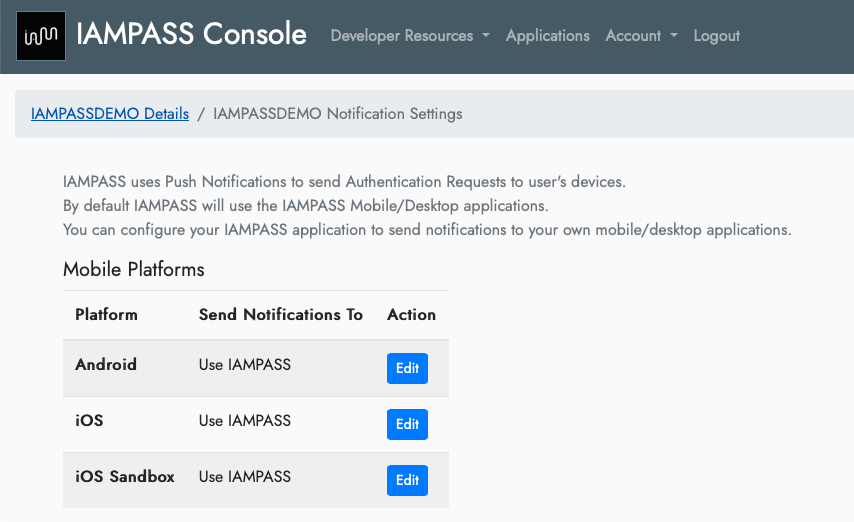
On the Notifications Settings page click the Edit button for iOS.
On the Apple iOS Notification Settings page select Custom iOS app from the dropdown.
Select token for the authentication method.
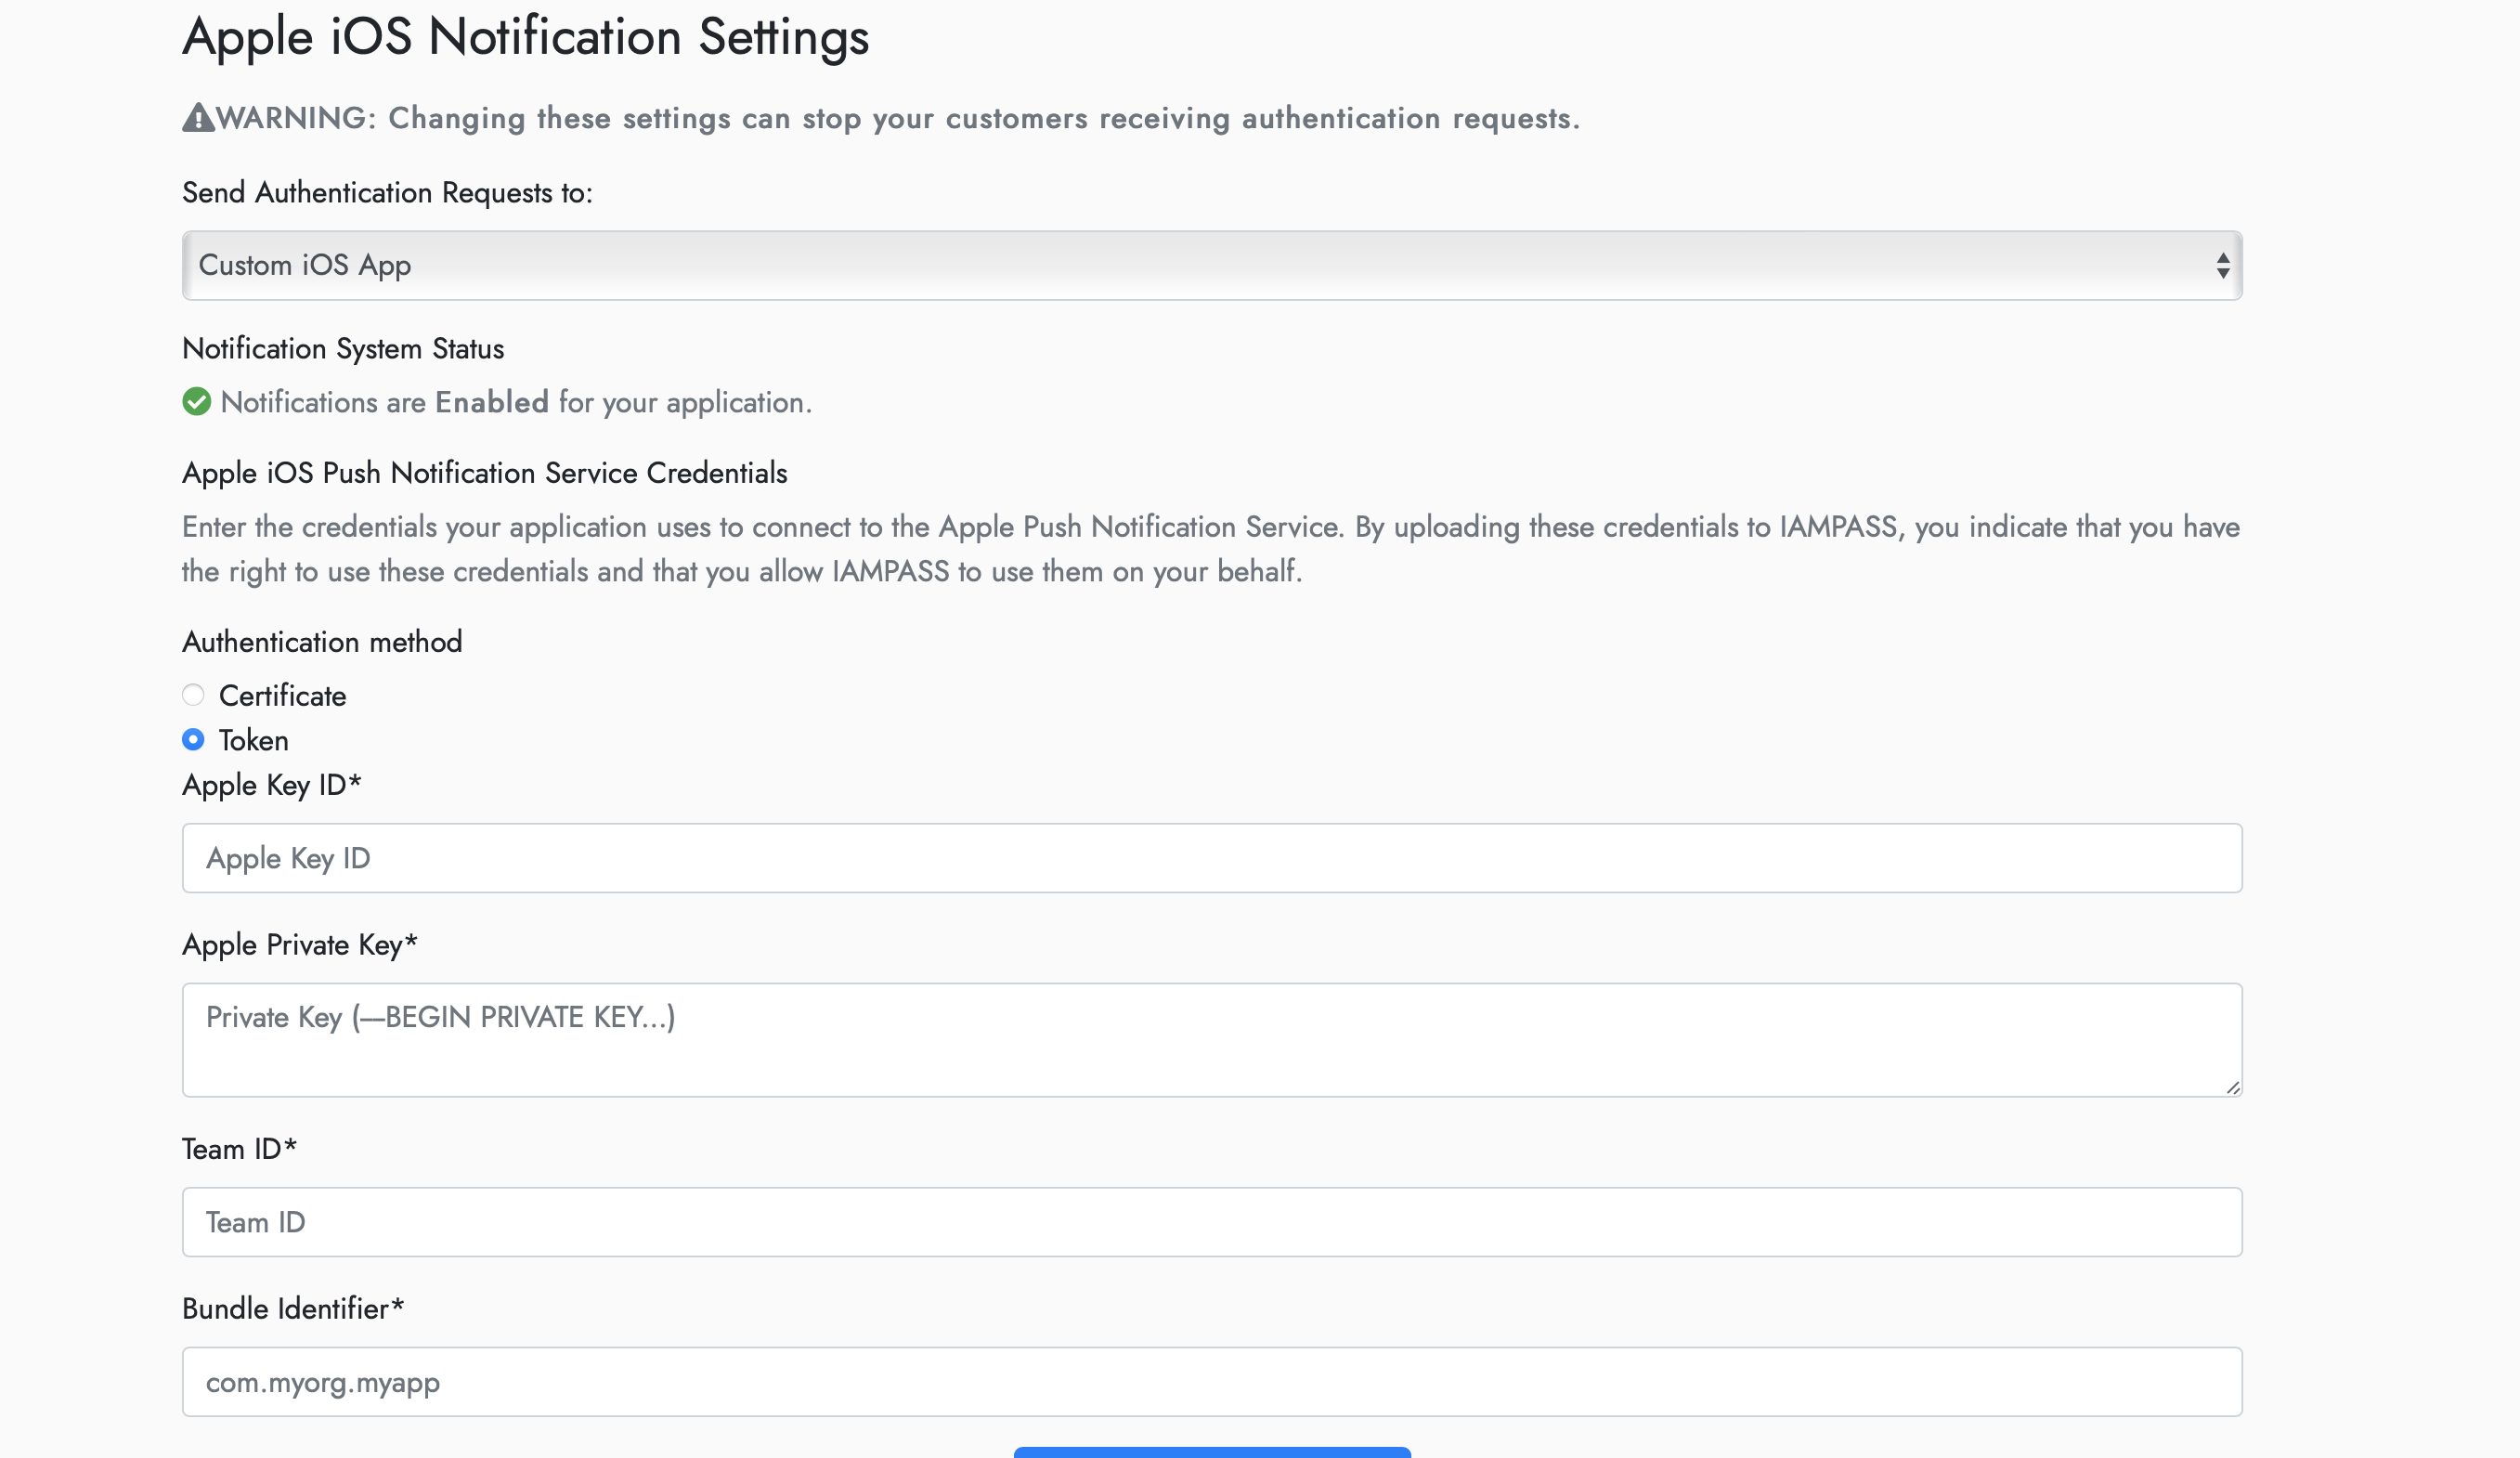
Enter the values obtained from the Apple Developer Portal
Alternatively you can use the certificate based authentication. * Download the APNS certificates for your application from the Apple Developer Portal. * Import the certificate and private key into KeyChain (both development and production keys). * Export the certificate and private key from KeyChain as .p12 files. * Open the IAMPASS Console * Select your application and click the Details button.
In the details page click the settings icon and select Notification Settings.
On the Notifications Settings page click the Edit button for iOS.
On the Apple iOS Notification Settings page select Custom iOS app from the dropdown.
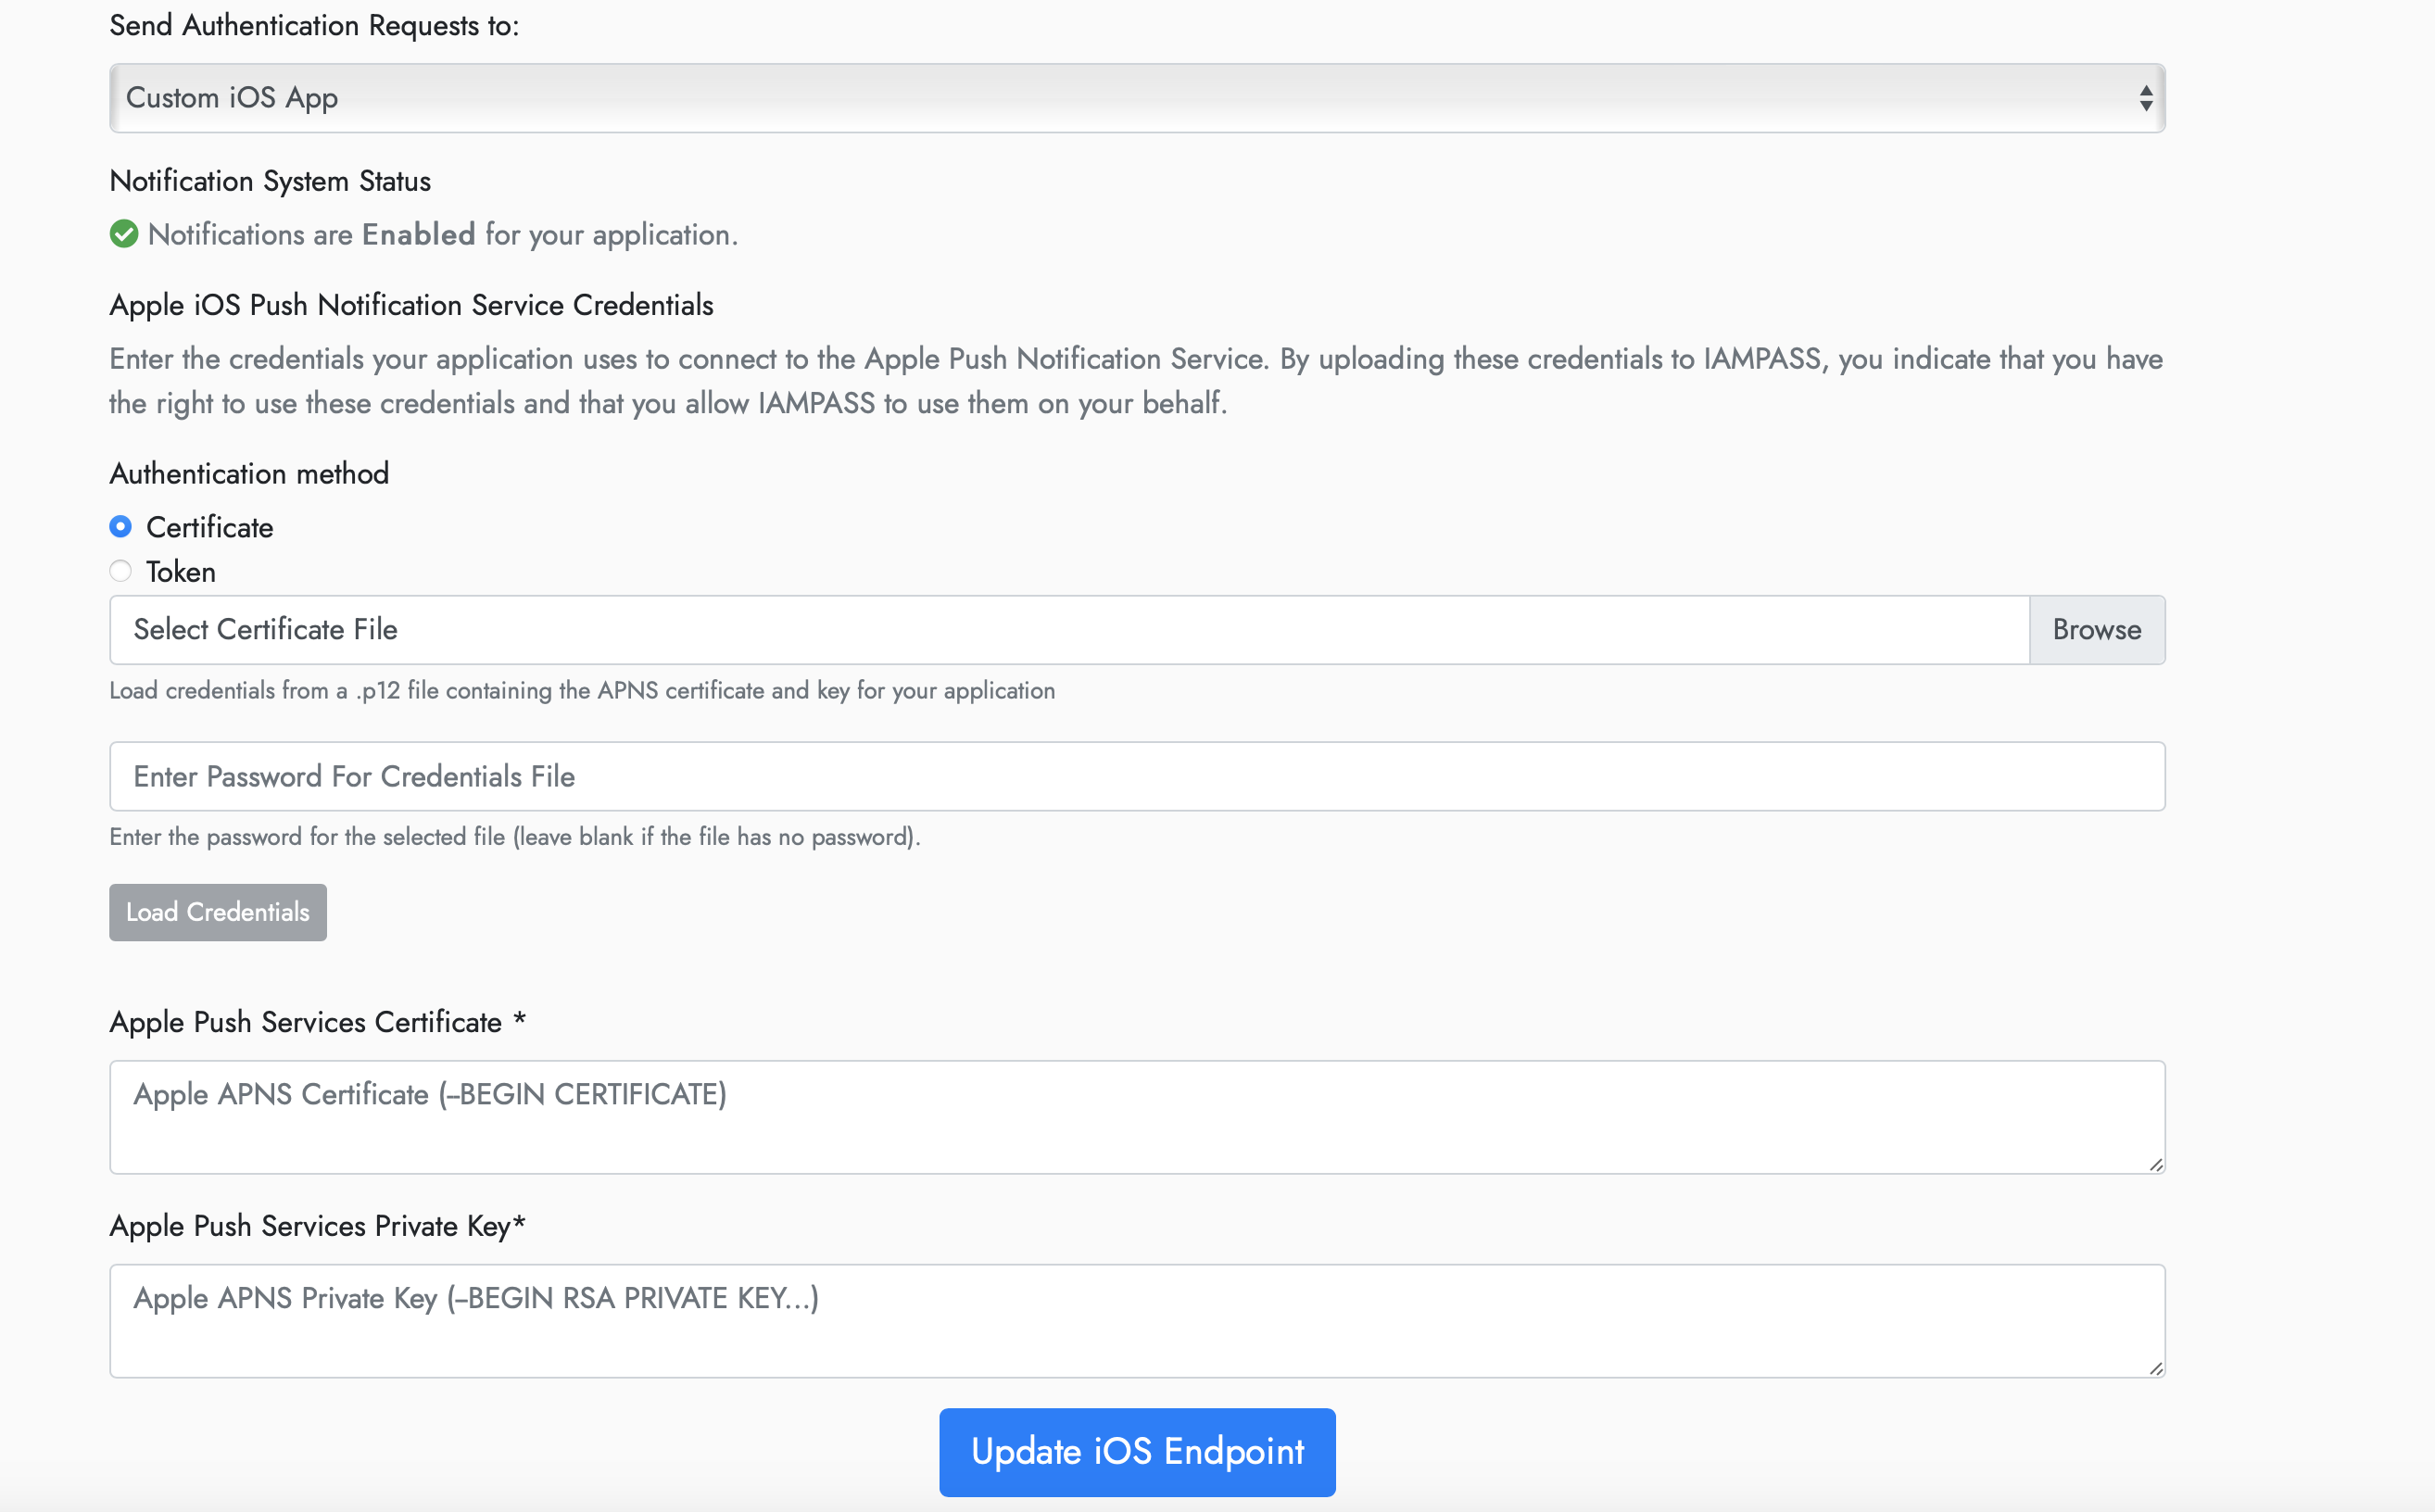
Select certificate for the authentication method.
Update the credentials with your APNS certificate and Private Key.
Repeat the process for iOS Sandbox using your development credentials.
IAMPASS will now route your users authentication requests to your iOS application.
Applications Entitlements
IAMPASS use Camera and Bluetooth services on your user’s mobile device. You must add the following entries to your application’s info.plist.

key |
value |
|---|---|
NSBluetoothAlwaysUsageDescription |
uses Bluetooth to verify proximity |
NSBluetoothPeripheralUsageDescription |
uses Bluetooth to verify proximity |
NSCameraUsageDescription |
uses the camera to capture images required for facial recognition. |
NSFaceIDUsageDescription |
uses FaceID to verify that you can unlock your phone. |
NSPhotoLibraryUsageDescription |
will not use any of your stored images. |
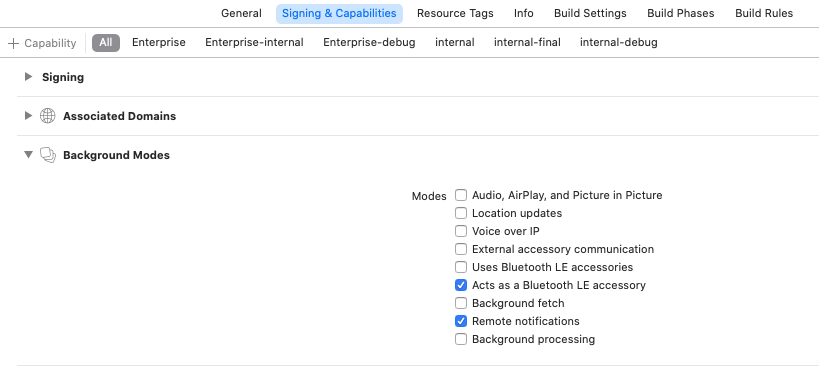
Background Modes
Add the Background Modes entitlement to your application in xCode. Enable the following modes:
Acts as a Bluetooth LE accessory
Remote Notifications
Key Concepts
- When a system uses IAMPASS to authenticate its users:
A notification is sent to the users registered device.
The registered device collects the required information and send it to IAMPASS.
IAMPASS processes the collected data and makes an authentication decision.
- A custom IAMPASS mobile device is responsible for:
Registering the user’s device.
Processing notifications from IAMPASS.
Collecting the required data.
Registering Users
IAMPASS does not manage your users or replace your sign up flow. You register your user with IAMPASS by providing a token that you can relate back to your user See Getting Started for information about user management. There are 2 common registration flows: * User registers using your mobile application. * User registers externally (in a web browser for example).
You must wait until your application has completed the Push Notification registration process before registering devices
Mobile Application Registration
The IAMPASS iOS framework provides an interface for registering users and their mobile device. See the IAMPASS example application on GitHub for details.
External Registration
IAMPASS generates custom registration links for associating a device with a user. The external client application can get the registration link and share it with the mobile application. It is the client’s responsibility to share these links with the mobile application. Alternatively, the mobile application can provide an interface for the user to enter their username and obtain a registration link. The IAMPASS iOS framework provides a method to get a registration link for the user
import IAMPASSiOS
...
// user_id: client generated identifer for the client applications user.
// display_name: A readable name for the user (user_id may be a random token)
// MY_APPLICATION_ID: The ID of the IAMPASS application (from IAMPASS Console)
// MY_APPLICATION_SECRET: The Application Secret of the IAMPASS application (from IAMPASS Console)

// Create an IAMPASS Management API instance using credentials for client application
let management_api = ManagementAPI(application_id: MY_APPLICATION_ID,application_secret: MY_APPLICATION_SECRET)

management_api.get_registration_link(user_id: user, display_name: user) { (reg_link) in
            // reg_link: URL that can be used to register the device.
        } failure: { (error) in
            // Failed to get registration link.
        }
    }
Whichever method is used to obtain the registration link, the link can now be used to register the device
import IAMPASSiOS
...
IPUser.registerDevice(identifier: user_id, registration_link: reg_link, notification_token: NOTIFICATION_TOKEN) { (identifier, device) in
            // Device registered
            // identifier: identifier for user (same as value passed to registerDevice)
            // device: IPUser that contains user and device information required for subequent IAMPASS calls.
            print("registered")
        } failure: { (identifier, error) in
            // identifier: identifier for user (same as value passed to registerDevice)
            // error: Error indicating failure reason
            print("failed")
        }
Storing Device Information
The client application should store the IPUser instance returned by device registration. IPUser implements the Codeable interface and can be persisted using Swift encoding (JSONEncoder for example). The iOS UserDefaults can be used to store the data, however the iOS KeyChain main be a more secure option.
Training
After a user has been registered IAMPASS may have to collect some training data. After registration check the training_required property of IPUser to determine if IAMPASS needs to perform training.
if registeredUser.training_required{
    // Perform training...
}
The IAMPASS iOS framework provides a default UI for performing training. The example code below shows a view controller that presents the training UI.
func doTrainingForUser(identifier: Any, user: IPUser) {
    // It is important that the code to display UI components happens
    // on the main thread.
    DispatchQueue.main.async {

        // Get the ViewController to use to present the UI.
        // If this code is part of a ViewController, just use self.
        let presentingVC = getViewController()

        // Create the IAMPASS training view controller.
        if let vc = IPTrainingViewController.create(user: user, identifier: identifier, success: { sender, identifier, device in
            // The training process completed successfuly so save the user information.
            if let id = identifier as? String{

                //TODO: Save the user data.

            }
            // sender is the training UI view controller, so dismiss it.
            sender.dismiss(animated: true)
        }, failure: { sender, identifier, device, error in
            // TODO: Training failed - provide user feedback.
            sender.dismiss(animated: true)
        }){
            // Present the training UI.
            vc.modalPresentationStyle = .fullScreen
            vc.modalTransitionStyle = .crossDissolve
            presentingVC.present(vc, animated: true, completion: nil)

        }
    }
}
If you prefer to use Storyboards and Segues you can create a new IPTrainingViewController derived class and instantiate an instance in Interface Builder.
Updating Device Information
Every time your application starts up or the user changes Notification Settings, you should update the device stored IPUser. Use the update method of IPUser to update the device information. When the device is updated IAMPASS may need to perform training. See training for information about training.
// Class implements IPTrainingDelegate, which processes training results.
class MainViewController : UIViewController, IPTrainingDelegate{

    // Update the stored mobile device.
    func updateDevice()->Void{
        let device = self.get_device()
        let user_id = self.get_user_id()

       device.update(identifier: user_id, notification_token: NOTIFICATION_TOKEN) { (identifier, updated_device) in
           print("Updated Device")

           // Save the device
           self.save_device(identifier: user_id, device: device)
           if mobile_device.training_required{
               DispatchQueue.main.async {
                   self.doTraining()
               }
           }
       } failure: { (identifier, error) in
           print("Update error")
       }

    }

}
Handling Authentication Requests
IAMPASS delivers authentication requests to mobile applications using Push Notifications. The notification title and description use string IDs so the client application must have the following strings in its string resource.
/*
  Localizable.strings
    ...
*/
...
/*Content of the login notification*/
"NOTIFICATION_TITLE" = "IAMPASS AuthenticationRequest";
"NOTIFICATION_BODY" = "TAP TO ACCEPT or clear to cancel.";
"ACTION_LOGIN_ALERT_NOTIFICATION" = "VERIFY";
You can change the values of the strings but the keys must exist.
When a mobile application receives a Push Notification it should pass it to the IAMPASS iOS framework, which will decode the payload and carry out the required authentication steps.
func application(
      _ application: UIApplication,
      didReceiveRemoteNotification userInfo: [AnyHashable: Any],
      fetchCompletionHandler completionHandler:
      @escaping (UIBackgroundFetchResult) -> Void
    ) {

        // IAMPASS authentcation request notifications contain data to identify the user the request targets.
        // We have to provide the notification handler with a list of user data that is stored on this device so that it can determine whether the notification should be handled.

        // Do we have a user?
        // Need to implent getRegisteredUser
        if let user = self.getRegisteredUser(){
            let registeredUser = [user]
            let  notificationHandler = IPNotificationHandler()
            notificationHandler.processNotification(userInfo: userInfo, registeredUsers: registeredUser) { request, user in
                // This is an authentication request for a user of this device so show the authentication UI.
                let vc = IPAuthenticationViewController.create(request: request, device: user) { sender in
                    // Authentication was successful
                    sender.dismiss(animated: false) {
                        // We send a notification now that the UI has been cleaned up so that interested
                        // parties (ViewController) can update their state.
                        NotificationCenter.default.post(name: AUTHENTICATION_UI_COMPLETE_MESSAGE, object: nil)
                    }
                } failure: { sender, error in
                    // Authentication failed.
                    sender.dismiss(animated: false){
                        // We send a notification now that the UI has been cleaned up so that interested
                        // parties (ViewController) can update their state.
                        NotificationCenter.default.post(name: AUTHENTICATION_UI_COMPLETE_MESSAGE, object: nil)
                    }
                }
                vc?.modalPresentationStyle = .fullScreen
                vc?.modalTransitionStyle = .crossDissolve

                self.topViewController()?.present(vc!, animated: true)

            } onStatusChanged: { status in
                // The notification is a session status change notification.
                completionHandler(.noData)
            } onError: { error in
                // There was an error handling the notification.
                completionHandler(.noData)
            } onIgnore: {
                // The notification is an IAMPASS notification but should be ignored.
                completionHandler(.noData)
            } defaultHandler: { userInfo in
                // The notification is not an IAMPASS notification.
                // The application should continue with its normal notification handling.
                completionHandler(.noData)
            }

        }else{
            completionHandler(.noData)
        }

    }
Logging
The IAMPASS iOS framework uses system logging to display diagnostic information.